By Mike Grage, Tech and Customer Support at The Bonneville Shop and British Iron
When I started my career as a motorcycle technician after graduating MMI in 1991 I had no idea that every spring every shop I worked in would be filled with motorcycles that ran when they were parked anywhere from a few months to many years. Most of the time they were parked when the weather started to cool off in the fall.
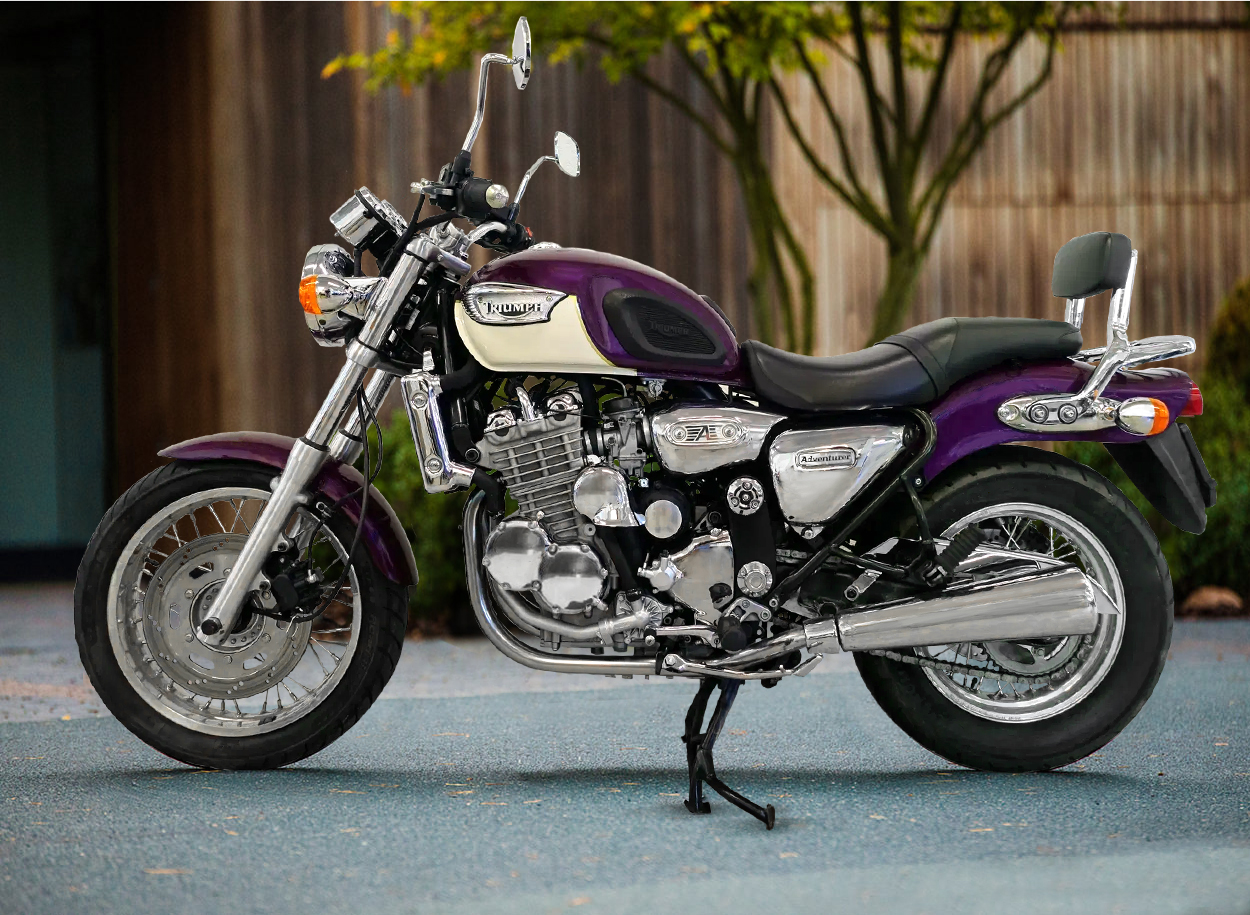
For this series of blogs, I’m going to go over all the preliminary checks for a Hinckley Triumph barn find that sat so long I had to hit brake calipers with a dead blow hammer to push the brake pistons back far enough to roll it out of the dust infested abyss it was hidden away in for a decade or more. This first part is going to be how to start and tune the bike, however there are several other checks and repairs that need to be done before taking it for a ride.
First Things First
Once the motorcycle is in a place where it can be worked on the first thing to do is get the rear wheel off the ground with a jack similar to The Bonneville Shop part number TBS-37-9847. Remove the fuel tank and side covers and visually check the wiring harnesses for damage, mice and rats like chewing on wires for some reason. If the wire harnesses are damaged, they will need to be replaced or repaired before proceeding. If they are intact, get your service manual ready and keep going.

Spark Plugs
Now the spark plugs need to be removed. After that we need to make sure the engine rotates smoothly. For this we use the leverage of 6th gear. To get the bike into 6th rock the rear wheel back and forth while upshifting, no clutch is necessary with the engine off, and chances are the hydraulic clutch fluid is dried up. Once it is in 6th gear with the spark plugs removed, you should be able turn the engine over smoothly by turning the rear wheel. If it turns smoothly, reinstall the spark plugs, put it back in neutral and keep reading.
Oil
Next you will need to look at the oil level sight glass. If the oil level is higher than the sight glass you will need to pull the drain plug to get the oil down to the correct level, you can go ahead and change it at this point if you want to, but keep in mind we are still determining whether the bike will run or not at this point.
The reason why the oil needs to be drained to the proper level from the plug is because there may some gasoline or water that drained into the cylinders from the carbs and made its way past the rings and ended up in the bottom of the oil pan. Do not panic if clear water or gasoline comes out before any oil. Just let the non-oil liquid drain out until it’s down the proper level.
Did your Hinckley Triumph Barn Find Run When Parked?
Now we’re going to find out if your Hinckley Triumph barn find actually ran when parked in a quick and dirty way. You’ll need a can of carb cleaner, a charged battery, and make sure you have a fire extinguisher nearby just in case. Connect the battery and turn the key on and make sure the dash is lighting up and everything is working, give the starter one crank and then turn it off.
Remove the air filter and leave the airbox open. Put a 1-2 second spray of carb cleaner in the airbox, more than a 2 second spray might cause a backfire that will scare the neighbors, and someone might call the cops. Turn the key on and crank it over. The engine should fire up for a couple of seconds after a few cranks. Do not run the engine on carb cleaner for more than a few seconds. At least one cylinder will be very rough due to rust on the exhaust valves and the fact that carb cleaner is not the best fuel. Turn the key off and disconnect the battery.
If everything went as I described up until this point, your bike actually ran when parked.
This is when you need to change the oil and oil filter, then remove the spark plugs and give the motor a few cranks to put a fresh and clean coat of oil on all internal parts as soon as possible.
Tests for Your Hinckley Triumph Barn Find
If it did not start and sounded like it wanted to, check for spark. The first thing to test when there is no spark on one of these bikes is the handlebar kill switch. If the switch tests good and there is still no spark, proceed through the ignition diagnostic guide in the service manual.
A compression test should be performed to make sure it is within specification so it can be properly tuned, even if it ran on carb cleaner. There is a chance that one cylinder will be slightly low due to a dirty valve or two from sitting so long. This will right itself after the engine runs for a few minutes. The factory specifies compression test pressure of 100-175 psi. A reading under 130 psi normally requires a valve adjustment, or a carb may have a sticking slide. Anything under 100 is not a good sign will be expensive to fix.
Carb Cleaning
The first job to start if it passed the run test is the most tedious thing of all, carb cleaning/overhaul. The factory service manual has step by step instruction on how to fully disassemble the carbs. A pro-tip for cleaning the carbs is use a single strand of copper wire to make the air holes in the emulsion tube are clear. Same method through the primary jets.
The majority of the jets or gaskets that you may need are available from Modern British Iron, you can find them by clicking here. Using a remote fuel bottle to make sure fuel inlet pipes are not leaking is a very good idea, same method can be used perform the float level check in the manner suggested in the service manual. A pro-tip that is ignored in the service manual is making sure the transfer ports are clear. These are the four small holes in a diamond formation between idle mixture port and throttle butterfly. Clogged transfer ports cause stumbling off idle.

While the carburetor parts are soaking it would be a good time to check for sticking buckets/tappet and get it ready for a valve clearance check/adjustment. Remove the cam cover and sparks plugs, then rotate the motor over a few times using the back wheel with the transmission in 6th gear to make sure the tappets/buckets are moving smoothly.
A sticky bucket will require camshaft removal to clean the bucket and head, and possible bucket replacement. With no sticky buckets it is time to do the valve adjustment. The valve adjustment instructions and specifications are in the service manual. Modern British Iron offers a valve shim removal tool kit that is easier to use and is much more cost effective than the Triumph factory tool. We also have a full kit of 25mm shims and individual shims in stock and ready to ship.

Triumph Twins Triples K&L Adjustment Shims PN MBI-KLSHIMS
$14.29 – $14.85Price range: $14.29 through $14.85


Once the valve clearances are confirmed/adjusted, the carbs cleaned/reinstalled, new spark plugs installed, and fresh oil/filter we need to make sure the coolant is at the proper level because we are about to fire it up. You will need the remote/auxiliary fuel bottle previously mentioned and some carb sticks/manometers. The service manual provides some detailed instructions on how to adjust the idle mixture screws and synchronize the carburetors. Personally, I like to start with the mixture screws 2 turns out.
After the bike is started, at operating temperature, revving up smoothly, and running right we know the engine is confirmed good and we can start the rest of the cleaning process. The first item on the list is the fuel tank and petcock. Be sure to use a dental mirror and flashlight to check the top of the inside of the tank for rust. Rust means the tank will need to be relined. Hard epoxy fuel tank liners like Caswell are the best, and closest to what the factories use. I would highly recommend investing in a fuel petcock repair kit if the fuel tank is rusted, or if the gasoline in the tank has dried up.

In part 2 of this blog on a Hinckley Triumph barn find, we will go over the braking system and how to address stuck calipers and dried up brake fluid. Hydraulic clutches will also be included in the next installation.

